The Making Of Cold Process Soap My Way!
It’s so hard to believe that another year flew by, thank you the customers /readers you made another year of my life joyful and fruitful. I am already working to make your new year just as fun and interesting.
Being a sole owner to a soap business creating, selling and advertizing, can get very hectic, which its the reason i neglected my blog. With this year resolution i am hoping to fill you in on my future plans, new creation, giveaways and events.
So let me start with showing you how Ayelet Naturals cold process soap are created step by step.
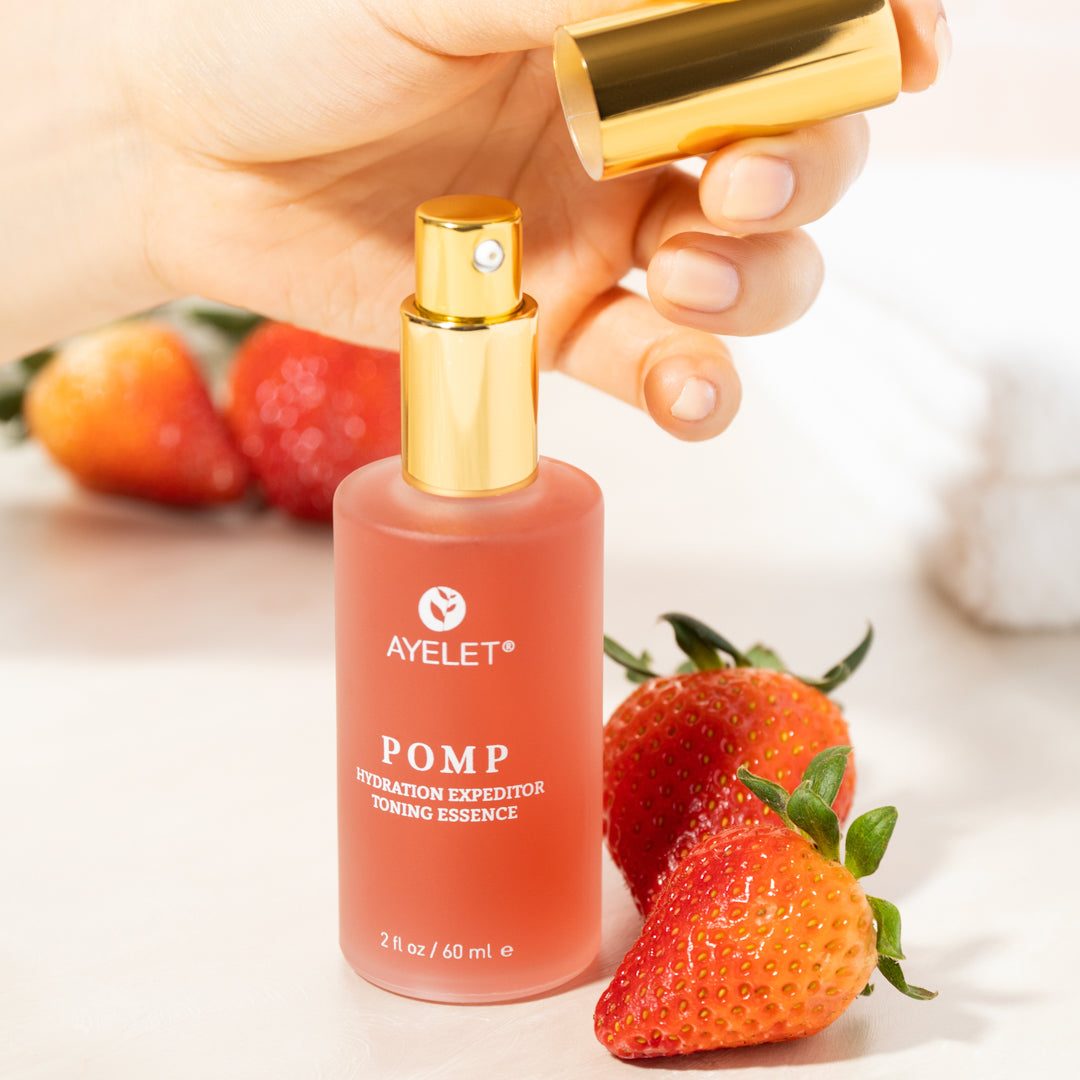
Cold Process Olive Oil Soap!
1. I figure out what soap will i be making , what am i inspired by today: Customer request, mood scent or a story and try to work around that visualizing the scent , the texture and the color, in this case is a very small batch, 3 #
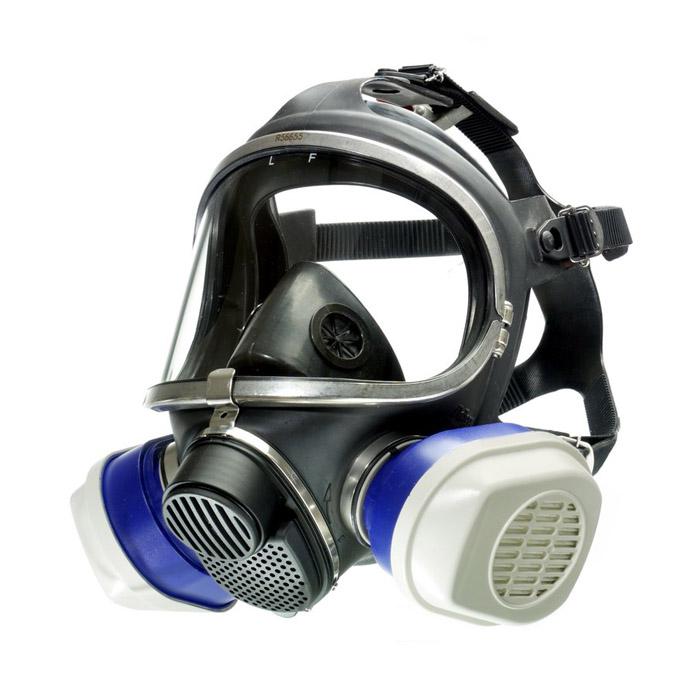
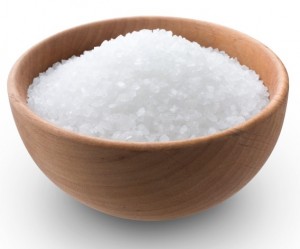
2. I wear my mask, pour cold water in a deep pitcher and add Sodium hydroxide; I mix it well and place it in the other room to cool off a bit.

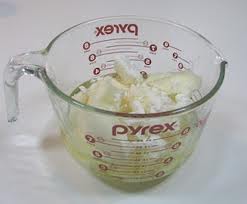
3. I melt the butters and oils together, although i don’t need to melt the oils, its just easier for me anyway, and cool it down a bit.
4. I start preparing the mold, lining it with freezer paper, i tried so many different ways, and i found out that what you see is the simplest and quickest way for me anyway.

5. I weigh my essential and fragrance oils, sometimes more than i need, i like to experiment using the blend on other products. (i lost some of the photos when i changed my email address on blogger)

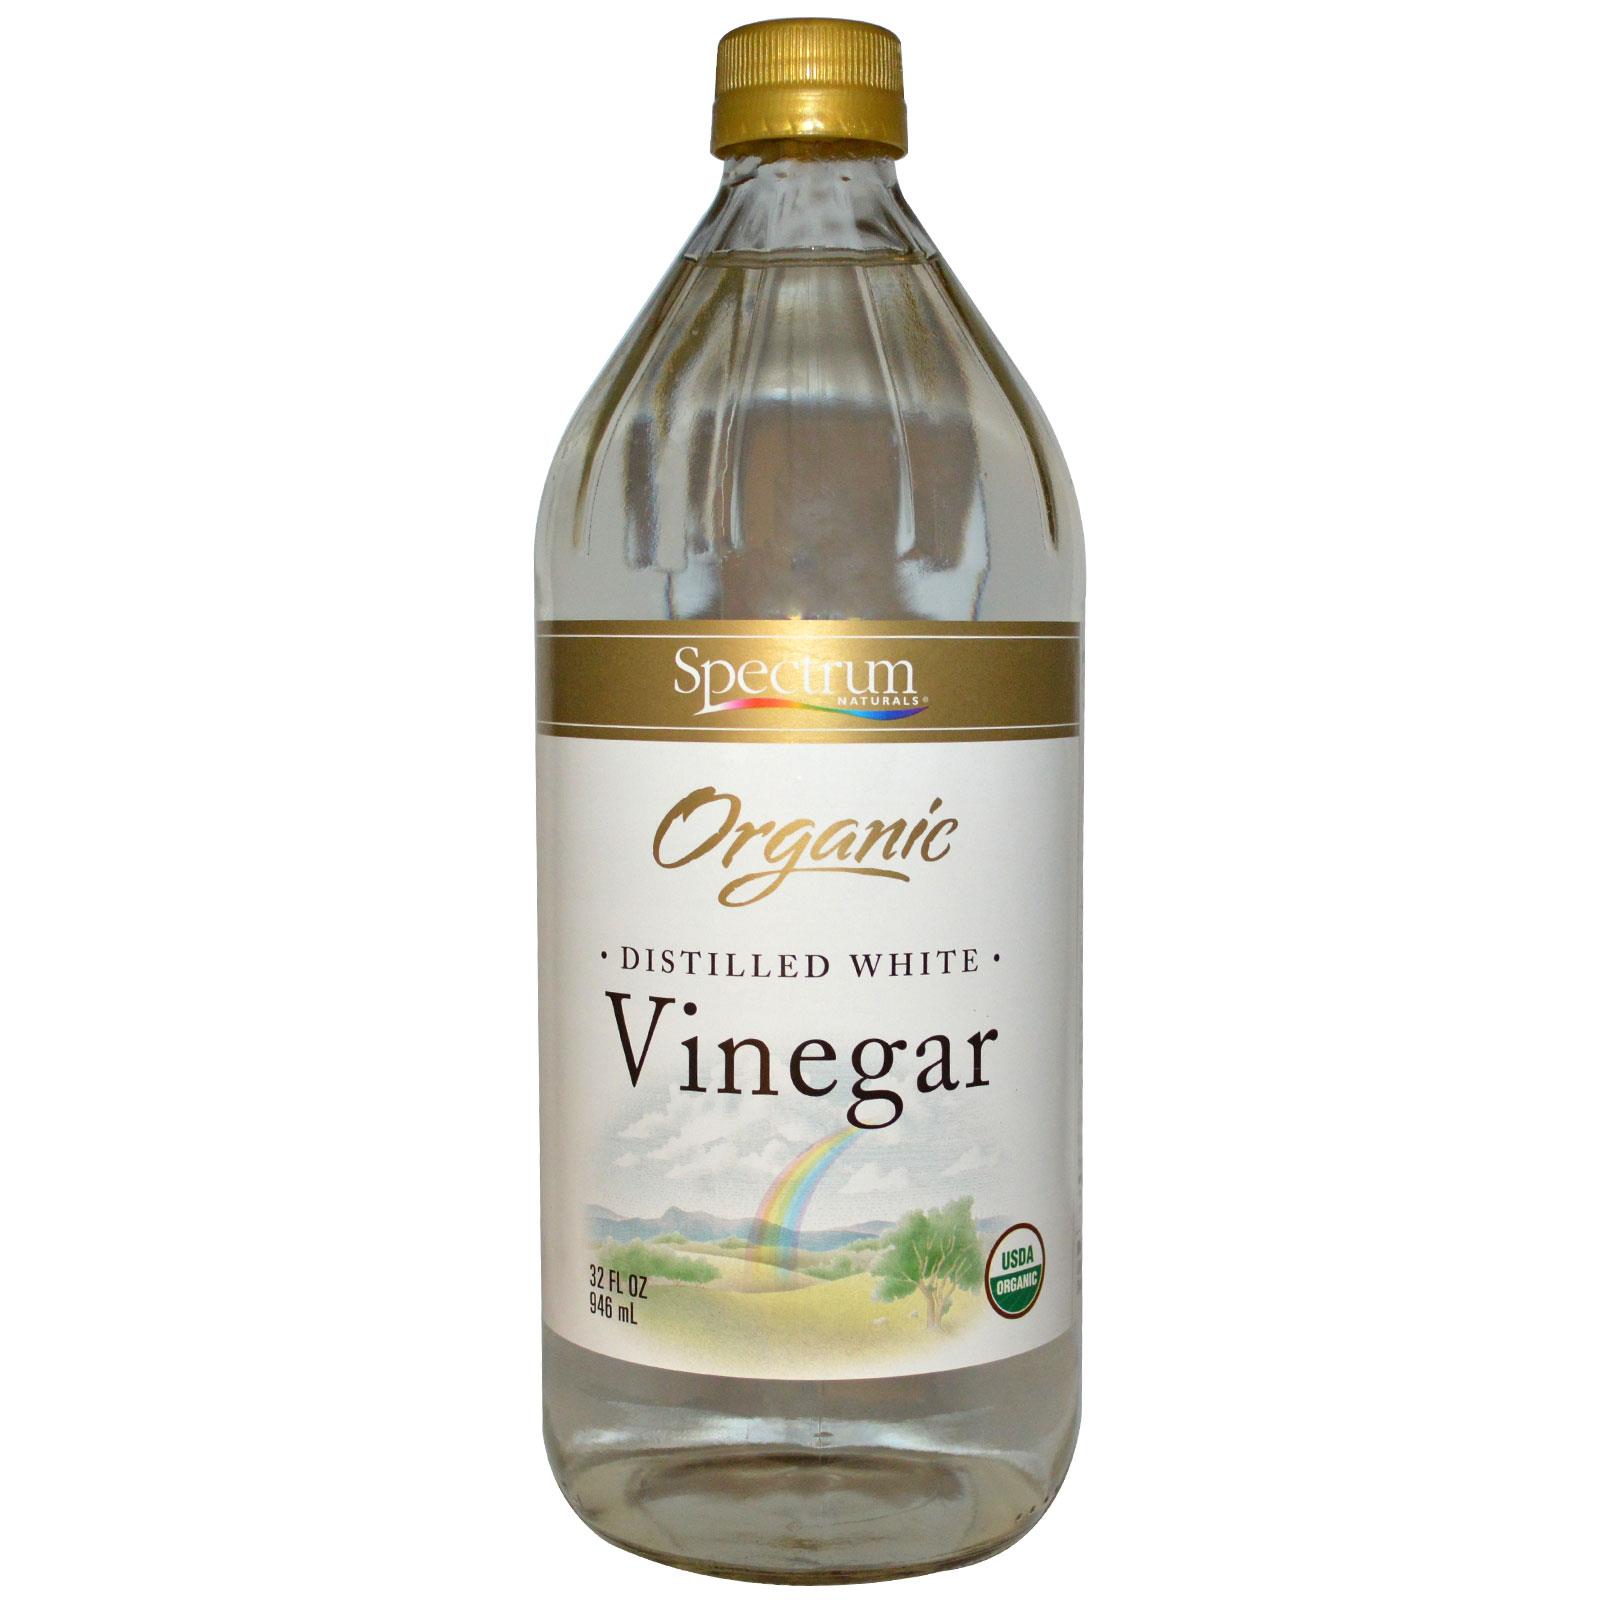
6. I mix in a small bowls the natural colors and a bit of water or some of the melted oils, but very little, i may be using, like mineral oxides, clays, micas, and botanicals, and my tools: gloves goggles, Stick blender, whisk, teaspoons, spatulas, and shish kebab sticks, paper towels and thermometer, and a vinegar bottle.


7. At this point i would like to speed up the Lye solution and melted oils cooling process, place it in the freezer section of my workshop refrigerator, and check the temp of both oils and lye which i like at 95 -110 degrees.
8. Once both reached that temperature, its show time, from that moment the process of the soap making itself will be very quick.
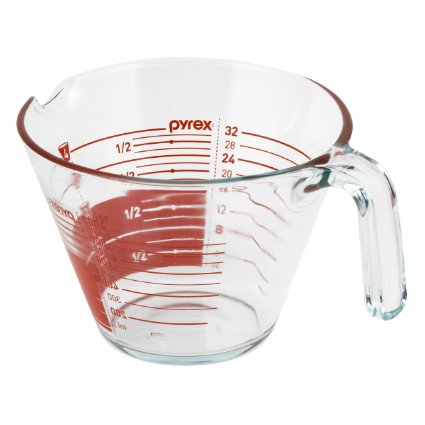
9. I wear my googols and apron, place the Pyrex pitcher with the oils in the sink, (for safety) and pour the lye solution slowly while mixing just so it blends.


10. I start stick blending until it reaches a light trace, it should look like a light cream, at this point i take a bit of soap mix and add to my little bowls with colors and m ix well, i add , oxides, botanicals and or clays, and than the essential and fragrance oils, i continue to mix without the motor running just to check the exhilaration speed which is different from fragrance to fragrance oil, if it doesn’t get thick too quickly that i continue blending with the motor running until i reach a thick trace, maybe 2 minutes in my case, depending on the oils and fragrances used ( very thick pudding consistency) it doesn’t have to be very thick , i just like it in some of the soaps. I pour it into the mold, slam the mold to get rid of the air bubbles, i mix in the colors and try to give it an appealing look, wrap the top saran wrap, parchment paper on top, cover it with towels, and take it to the next room and leave it there undisturbed for 18- 24 hours.
 The soap is ready for cutting and curing!